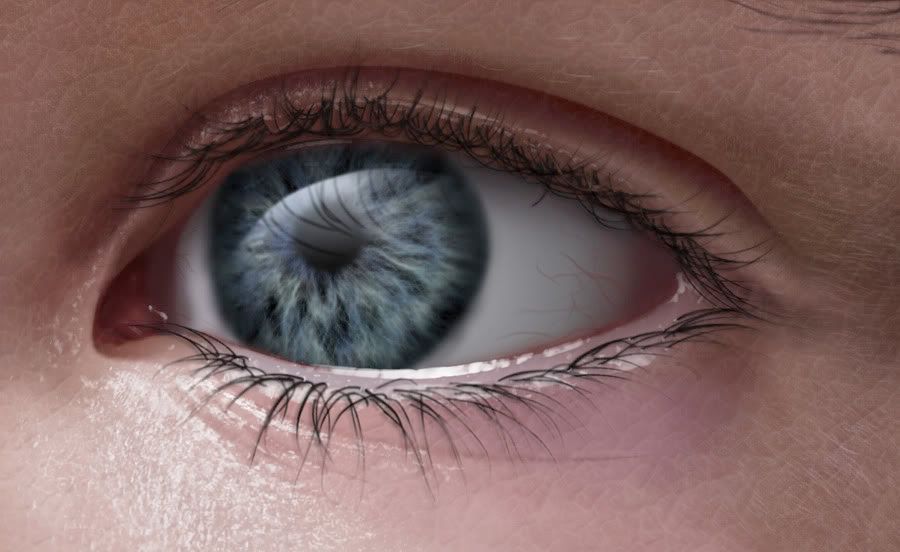
OK I'm back!

First, I have to say this illustration doesn't need any changes or adjustments.
It doesn't need to be more realistic.
I usually like to see the artist style, the way an artist use brushes and treat details & colors.
ReyRey gave us a very good example and show great dexterity.
Anyway, I played with skin texture. I thought the skin texture can have more details.
I'll show here one very easy way to make texture... everybody can do it.
Maybe some already know this technique...
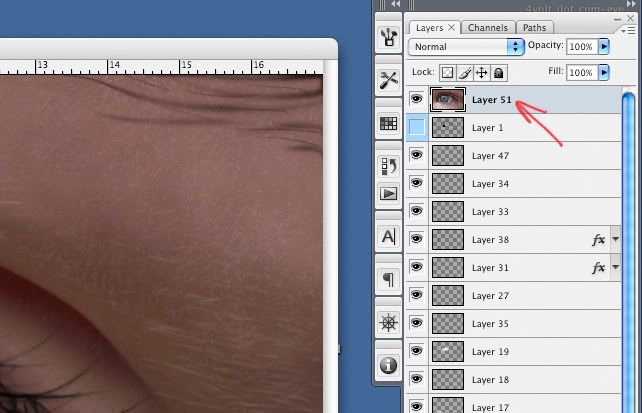
1. First, select canvas, copy & merge the whole image in a new layer on top.
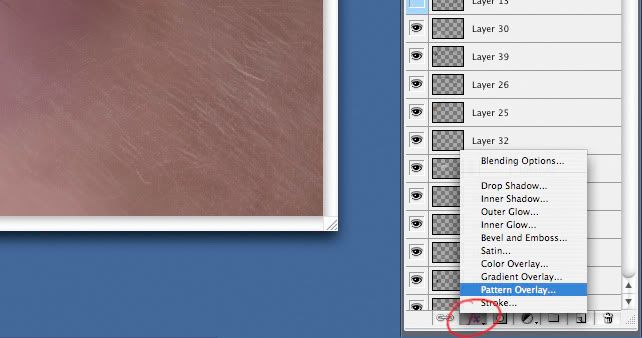
2. Add a layer style (pattern overlay effect) to this layer.
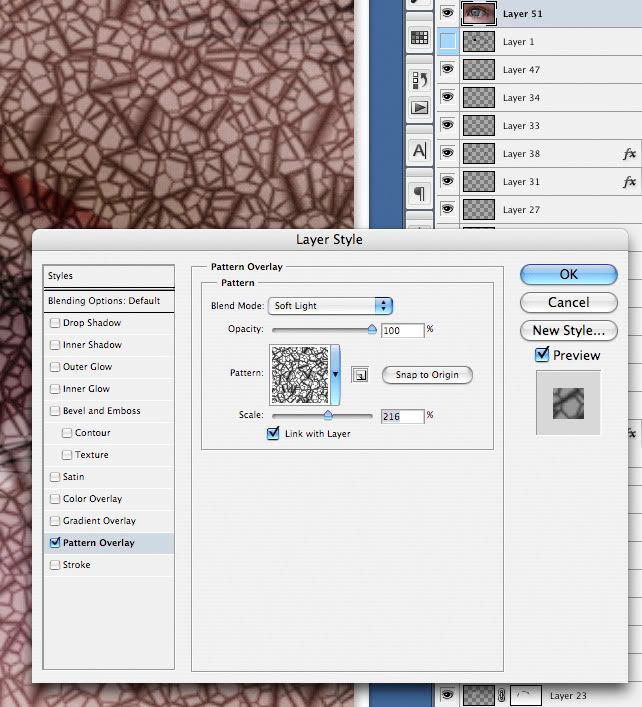
3. The pattern overlay (metal landscape) in soft light blending mode. Bahhhh... anyway... maybe you don't need it
in soft light this time, but this blending mode is good for using those textures in low opacity... generally.
Try to choose the right scale.
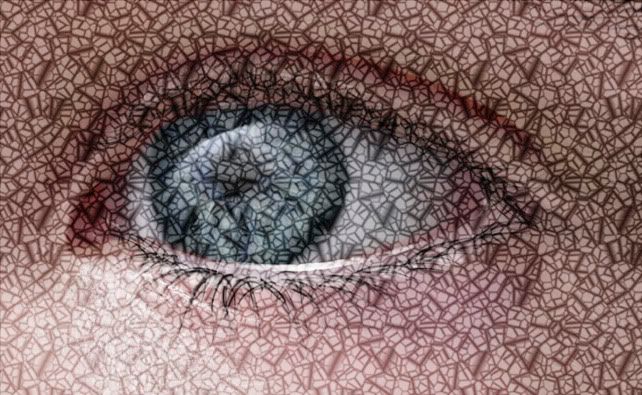
4. Apply it.
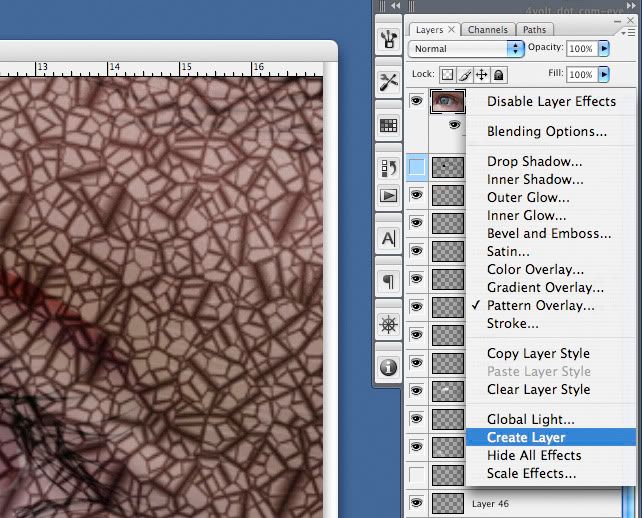
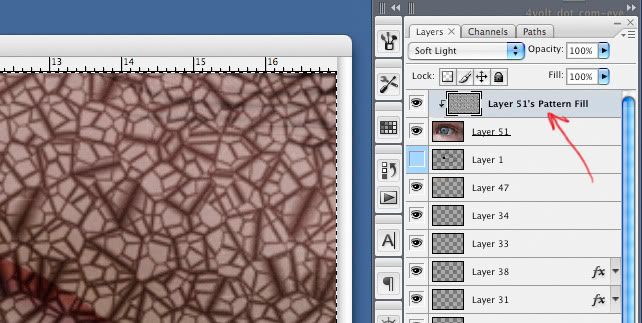
5. Control + click fx logo on the layer. Click Create Layer.
6. The new layer appears. Select canvas, copy the new layer...
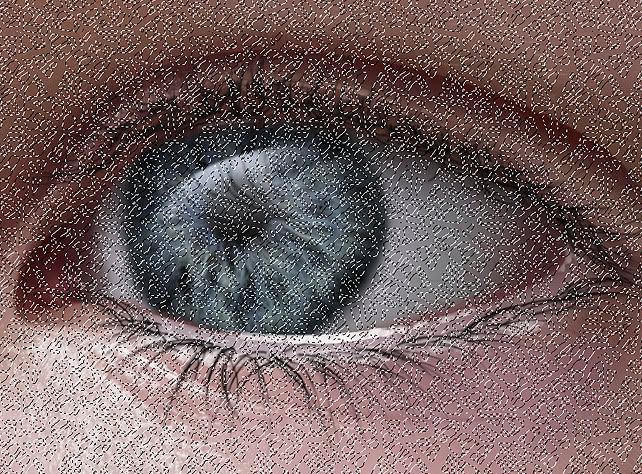
7. Add a new alpha channel and paste your selection. Click command + alpha channel thumbnail.
8. The pattern is selected.
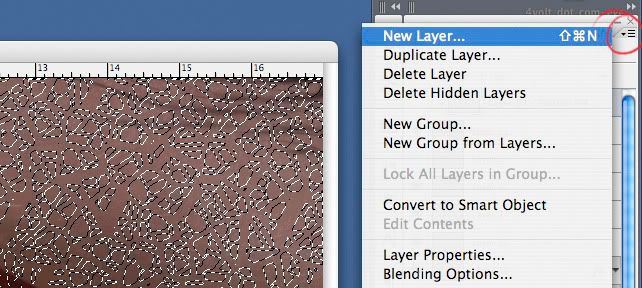
9. Click in the top right corner and select New Layer...
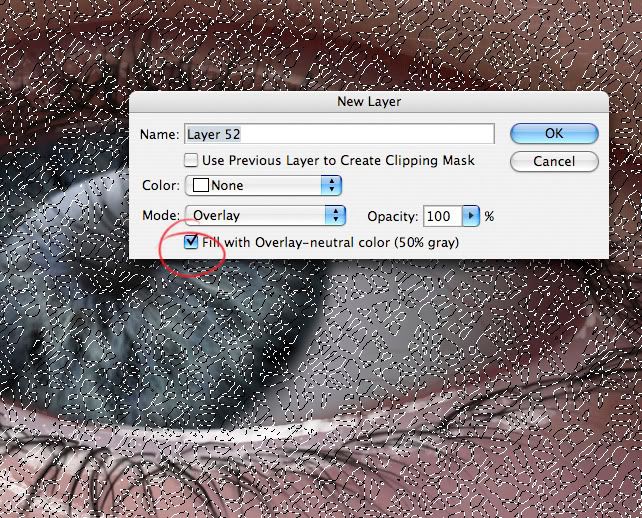
10. Make this layer Overlay mode and fill with Overlay-neutral color (50% gray).
Click OK. And now clear the selection and deselect.
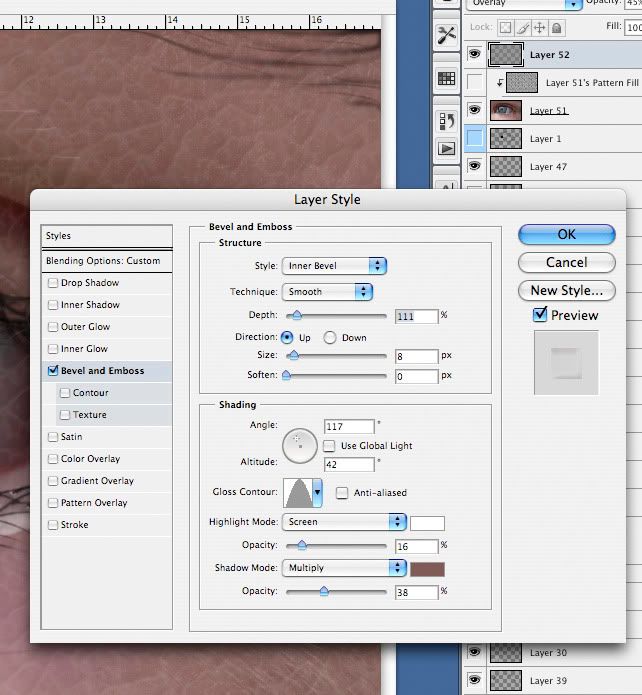
11. Add a layer style (Bevel & Emboss). Adjust it the right way. Important detail, the shadow mode in multiply
need a compatible color like average or darker shade of skin (PLEASE NO BLACK... in general don't use black
for shadows in any kind of shadow you make, it needs more subtle shades).
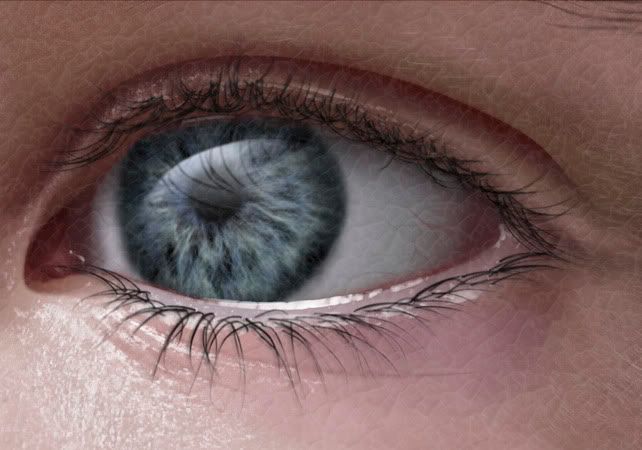
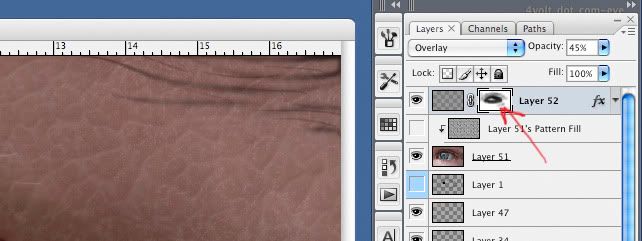
12. I put the texture effect layer at 45% opacity. Now this is what look like the texture.
13. Add a layer mask to this layer and with a soft brush, pen pressure setting or at maybe something like 30% opacity,
take off some details or reduce opacity on some details.
14. The result.


