By: Claf
First, it's important to visualize enough well if there's enough elements in the original picture
that can be used to make the transformation. Secondly, it can be helpful to find some good
pictures as references to make the new object. For this one, I used no reference.
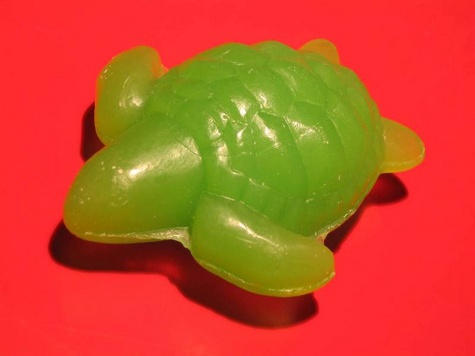
Here's the original picture.
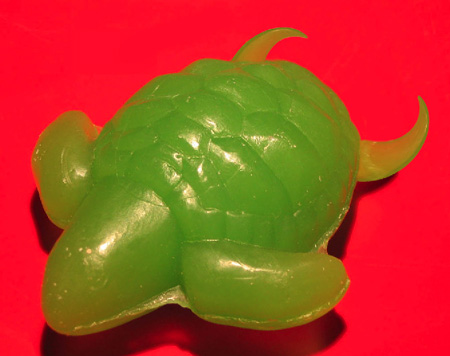
I started with a light rotation of the whole picture,
and I started with the horns by selecting & copy/paste the left leg of the turtle. I made a polar coordinates distort to it, rectangular to polar. I moved it and rotated it
to put it at the right place, and adjuting the shape with a layer mask. Layer masks are important to give the flexibility for taking off and putting back later some details. The right horn is a duplicate of the left one... flip & rotate...
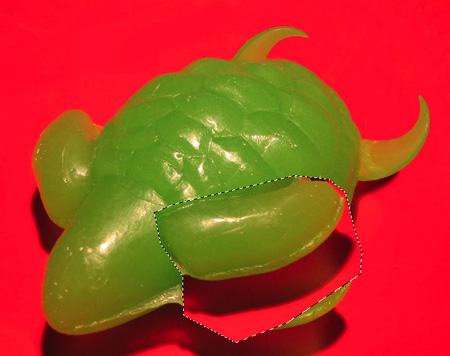
I made a copy/paste of the left arm & shadow and moved it at the right place to built the left side (bottom) of the face.
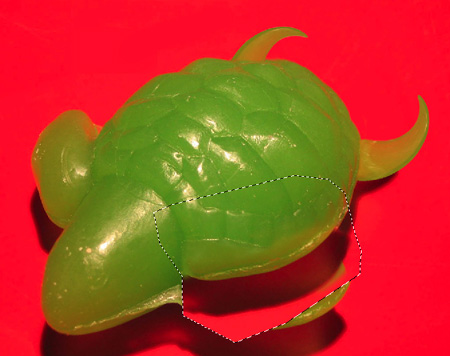
Now, with the layer mask, I kept only the details I needed. Always using the brush tool on a layer mask, adjusting constantly the size, hardness & opacity, depending of the detail to do. Taking off & putting back details by switching foreground & background colors (for layer mask: black & white) by pressing "x" on the keyboard.
I started to make the shape of the right side (top) of his face only by stamping the background over some parts of the turtle on another layer. The chin was a copy/paste of the head of the turtle, I made a shear distort & free transform. After, always
the same thing... moving, rotating, taking off some parts using the layer mask...
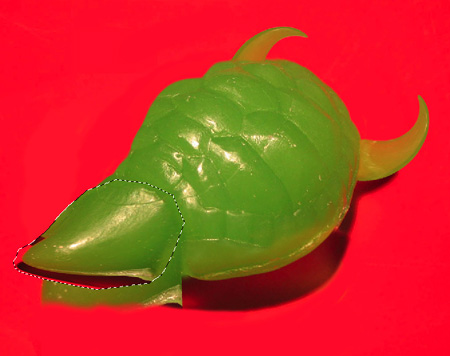
Copy/paste of one part of the shadow... moving & rotating, layer mask...
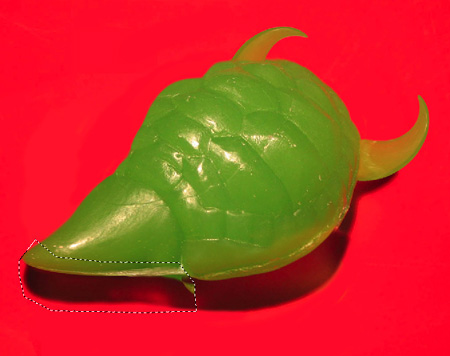
Now I used the left arm for the left ear... copy/paste, free transform, layer mask...

I made the details of the ear with the stamp tool & brush tool on different layers. Can use different blending modes
on layers with the brush tool for shadows & highlights. I was gradually cleaning & adjusting some details with
the same tools.
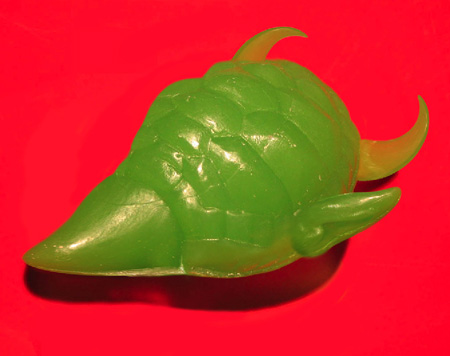
I made the new shapes of the shadow using the pen tool, after I used the stamp tool to clone some parts of the original shadow, adjusting & cleaning with the brush tool, and adding a gaussian blur.
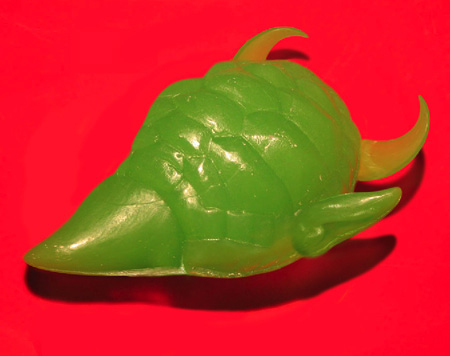
Copy/paste a detail & moved it up... this detail will be part of the devil's mouth.

With the stamp tool, I took off all the details that I didn't want, preparing the face of the devil.
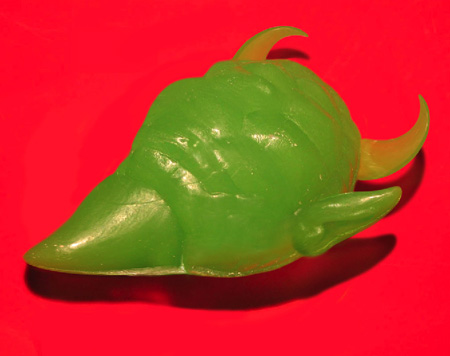
Copy/paste & moved some details & highlight of the turtle for the left eye & the nose.
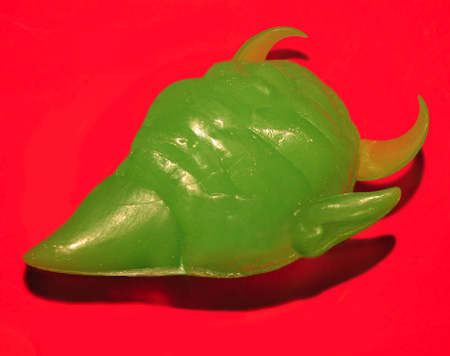
After that, I draw some details with the brush tool & stamp tool, adjusting the size, hardness & opacity of those tools
as usual.
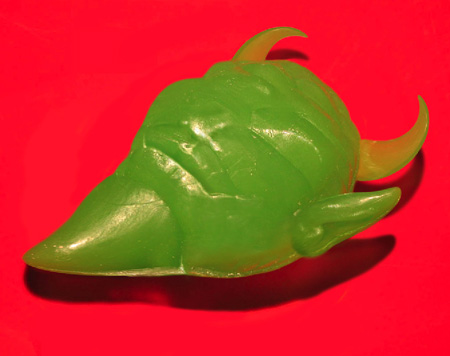
I copy/paste the left eye to make the right eye, move-flip-rotate-free transform & layer mask to keep only a part of it.
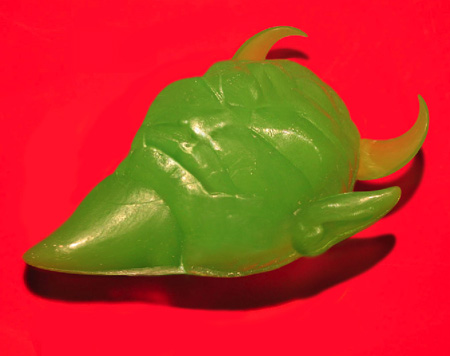
Here, I added some red reflexion to the right eye & cheek.

I added some small details again, and added a curves adjustment layer for a better contrast.
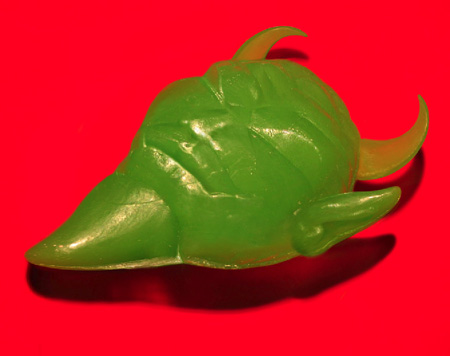
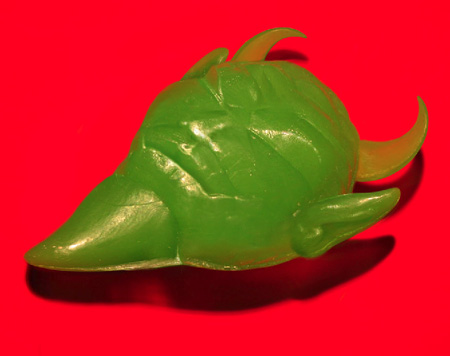
Finally, I was close to forget the right ear... copy/paste of the left one, flip-rotate.......
� all photoshop tutorials
|