By: ledirlo
MORE MASKS
In the first lesson about cut/paste stuff, I just wanted to let newbies
it existed...but the masks are just the key to being able to modify, retouch,
tweak your image anyway you want.
As I already
said, masks are nothing but bitmap shapes, gradients...they're called
transparency maps....I'll call it "TM" because I dont want to
type it over and over.So the quick mask mode consists in adding a layer,
painting it with 50% transparency, and transforming it into a selection,
and this is possible thanks to TMs.
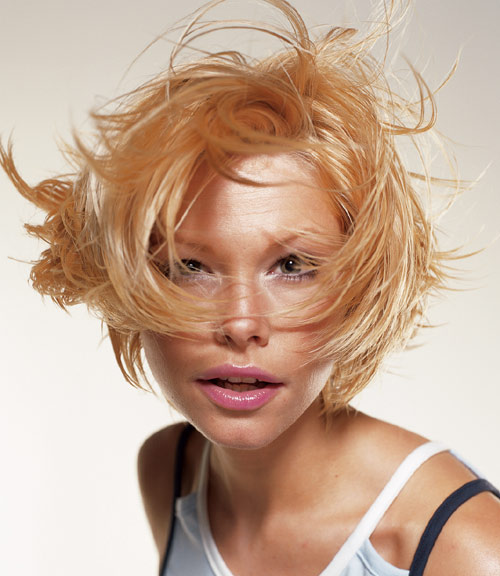
First download
the pic of Lucille, we'll select her hair thanks to a mask.
Prepare
it , get a soft brush,press Q, and start painting the hair.Use very small
, soft brushes for thin hairs, and larger soft brushes for the dense hair
mass.The quick mask result is
Then, we will mask the part opposite to the selection we just drew, for
convenience: press Q, CTRL+SHIFT+N, and paint the selected area white
here's a mask.Save.
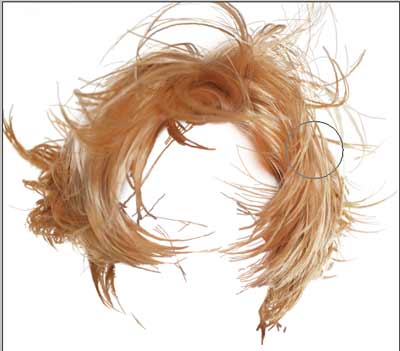
Now
you have a poseable wig for further use.This part was not the goal of
the job, but only a step in preparing the pic, though it is this lesson's
subject: it allows you to alter each decisive part differently.Lets prepare
the rest.
CTRL+click
on the mask's layer, hide it, and press Q and CTRL+I
paint the body of Lucille, so you have her face and body masked.
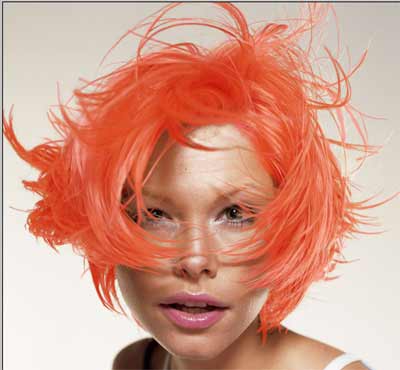
The goal is to create a mask of the background.Press Q, paint white.Now
you have a mask for the hair, and one for the background, you want to
have the negative masks handy for further selections.Select your background
mask layer, create a new layer on top of it, CTRL+click your backgroung
mask, press CTRL+SHIFT+I, and paint the selection black.Repeat the same
operation with the hair mask: now you have two masks and their negatives.
Hide all the masks by ALT+clicking on the eye near the lucille layer:
we want to isolate the skin (body/face): ctrl+click on the negative of
the background (N1), and ctrl+shift+click on the negative of the hair
to add its TM to the selection, now you should have selected the body+hair;
press CTRL+SHIFT+I, create a new layer on top of the others, and paint
white: now you have a mask for the background.
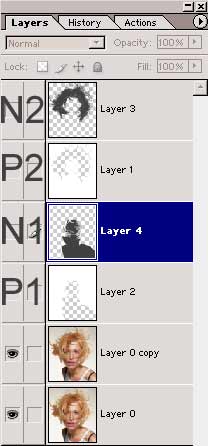
You
now have masks for every decisive part of the picture, and you call transform
their TM into a selection by CTRL+clicking on their layer.No need to save
the selections through the select menu (exactly the same though as PShop
creates new channels) , you have them visible and handy on layers.
REMEMBER
THIS:
to recall
a transparency map: CTRL+click on a layer
to add a
mask's TM to selection: CTRL+SHIFT+click on its layer
to sunstract a mask's TM to selection: CTRL+ALT+click on its layer
to intersect
with previous selection: CTRL+SHIFT+ALT+click on its layer.
Always name
your layers so it doesn't get messy....and save after you have accomplished
a hand made task, like painting a mask.
this lesson
was meant to teach mask management, soon I'll show you how to use gradient
masks, unless you try them by yourself.
� all photoshop tutorials
|