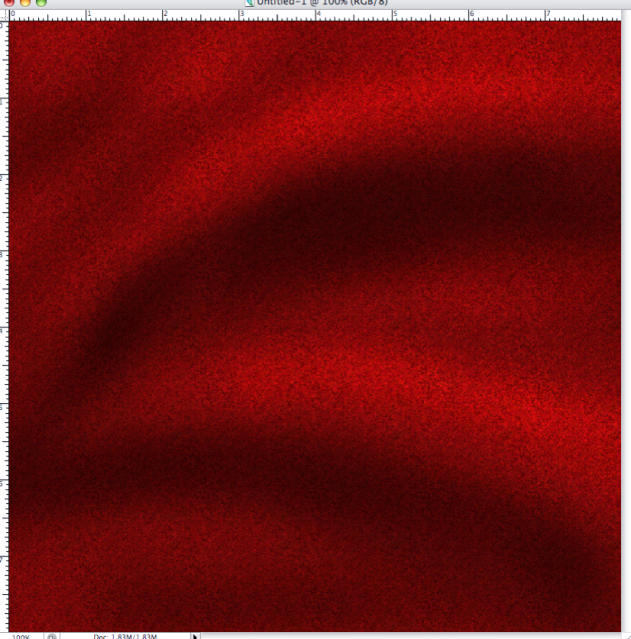
Here is how I created the fabric in this image.
http://photoshopcontest.com/view-entry/160550/votes.html
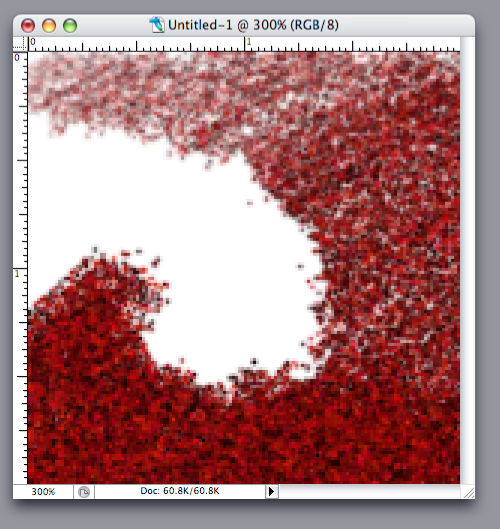
I created a new file. 2"X2" @ 72DPI
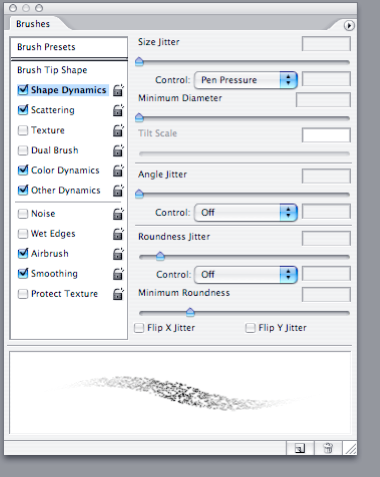
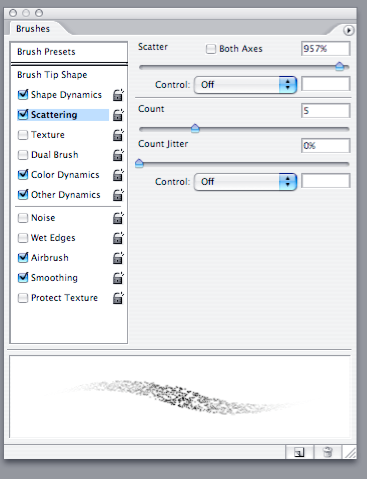
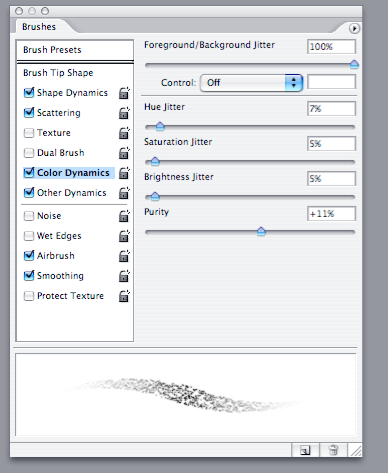
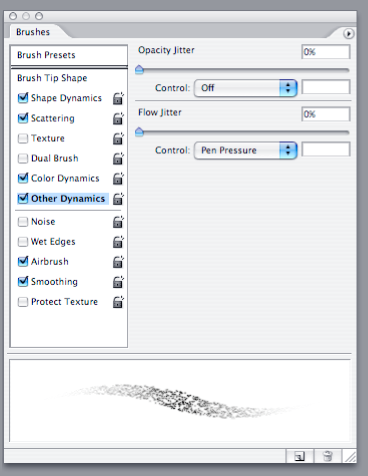
Then I created a brush with these settings.
Chose a rich dark red for my foreground color and black for the background color.
I started to fill in the box.
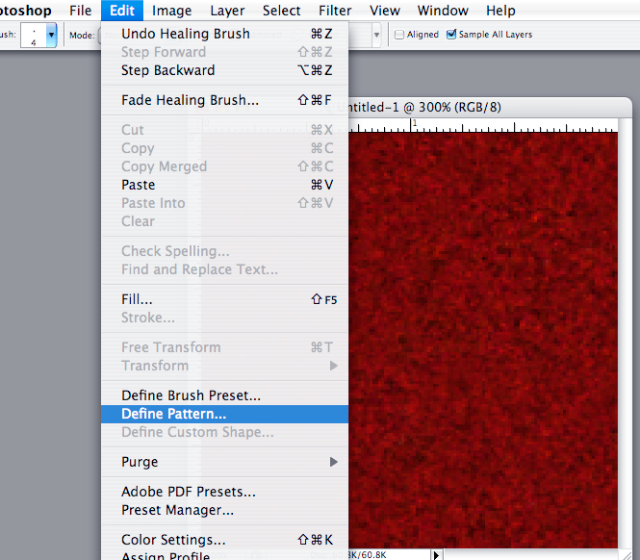
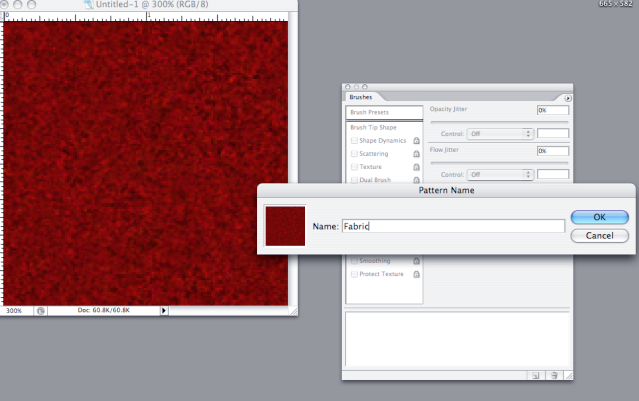
Then I created a pattern from it
Then I created a new File. (Whatever size you want)
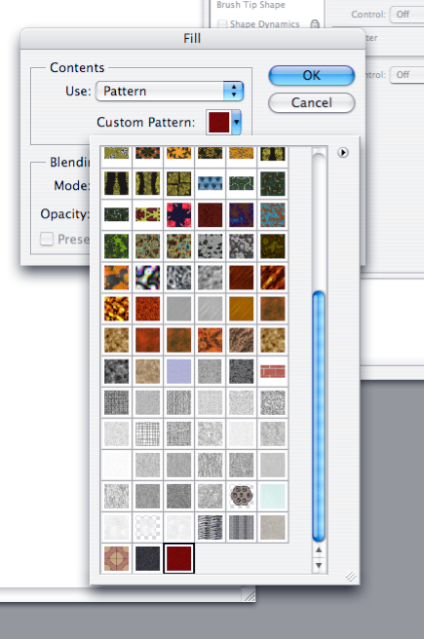
And filled it with the new pattern.
I used my brush to cover up any repeating paterns.
Then I went to the burn tool and created a large soft brush set to highlights @ 30% and started burning in shadows.
Then I went to the Dodge tool with a big soft brush set to highlights @ 30% and started brushing in Highlights in front of the shadows.
Use smaller brushes when doing the peaks of the wrinkles.
Soon you have wrinkles in your fabric.
Here is the layered file for that skull image.
http://www.zshare.net/download/68703187e65c73d7/
So you can see how the crystal ball was made.
