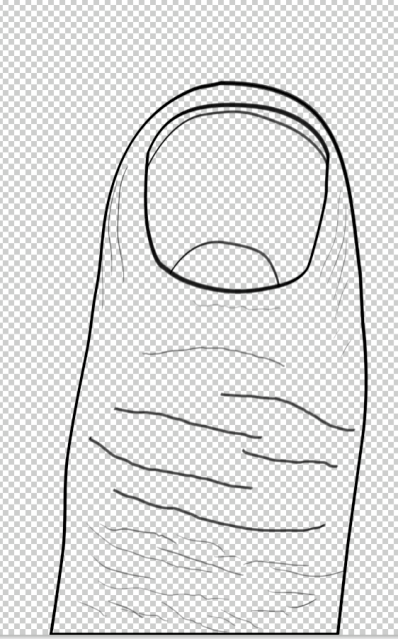
This is not so much a tutorial as much as it is showing you what you can do with the brushes in PS.
Someone asked me how I did the thumb in my last entry.
Well...Kinda like this.
Let's create a working man's hand because they have a lot of character.
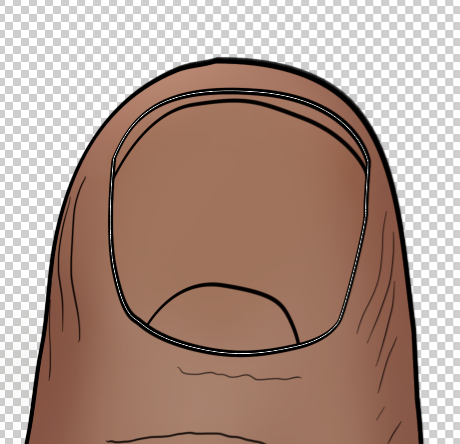
Start airbrushing in tones
Look at your thumb for reference.
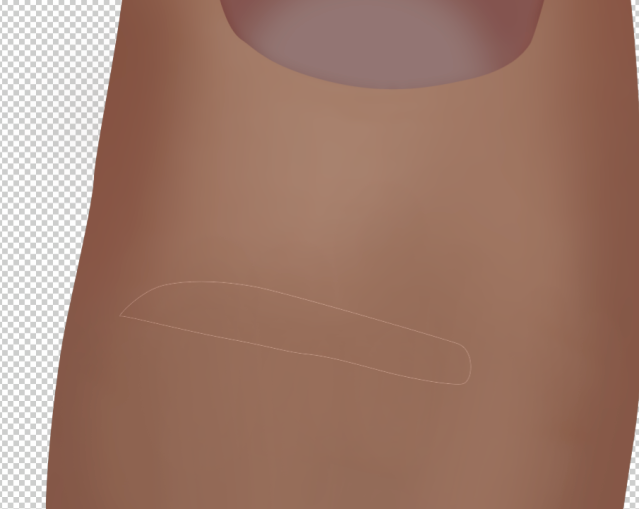
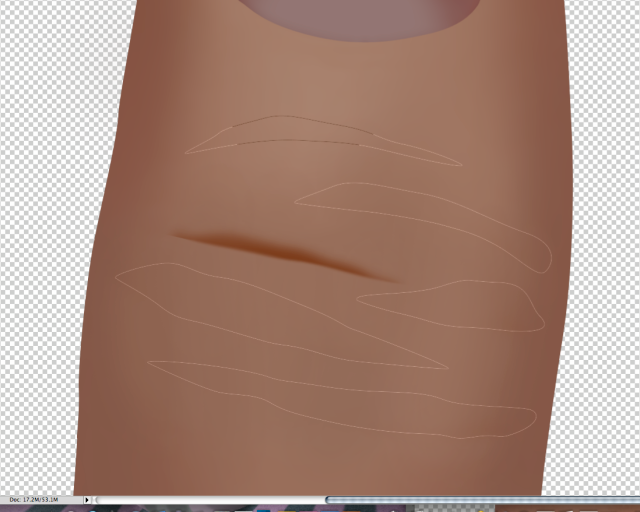
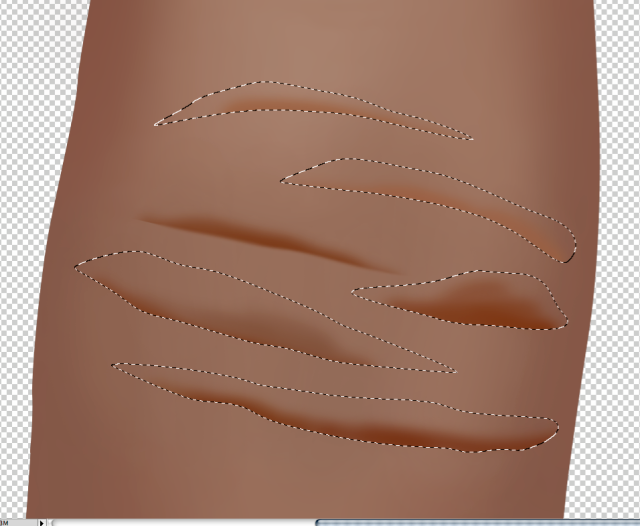
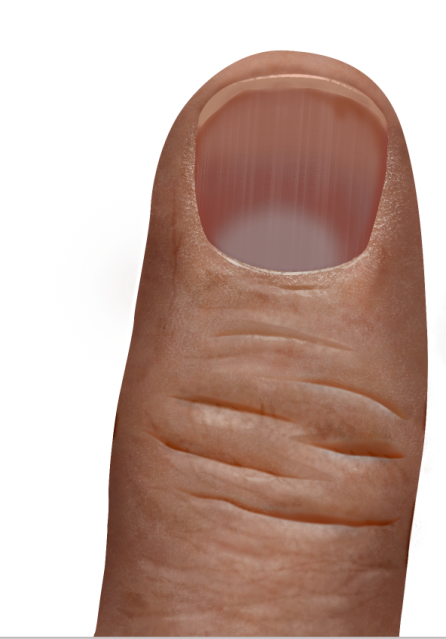
Start making selections with the pen tool for the wrinkles.
Do all these parts on their own layers.
Make sure to soften the edges with the blur tool.
Now it gets tricky.
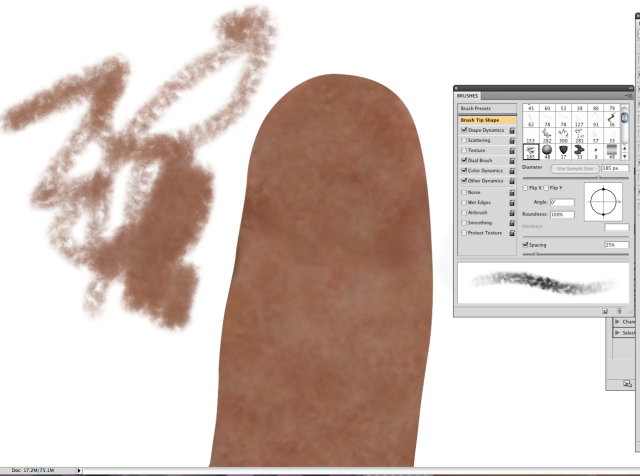
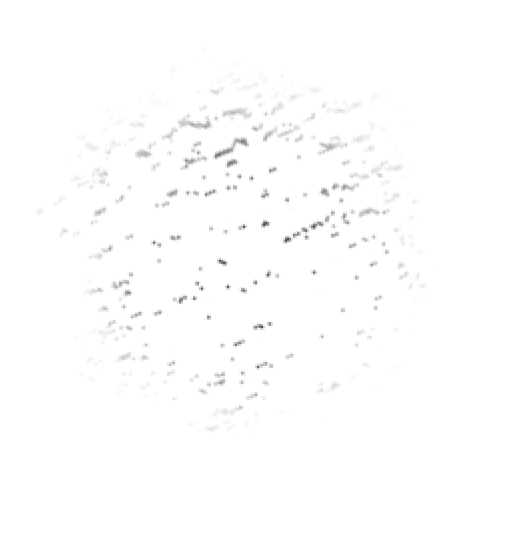
I created a brush in PS that scatters, changes opacity, shifts colors and changes size according to pressure using nice flesh tones. I brush them in a new layer.
Then I dropped the opacity
and dropped it beneath the wrinkles layer
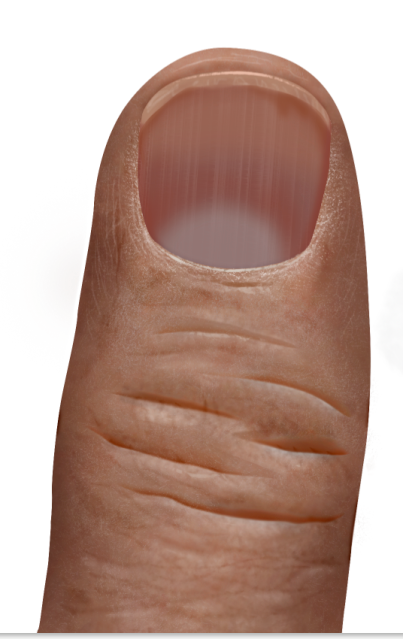
With the burn tool set to mid tones @ 20% I started darkening the edges to create shape.
I also used the dodge brush
Using the flesh brush that I created I chose new colors and started brushing in hills and valleys around the wrinkles.
This brush I use to create the dry skin look.
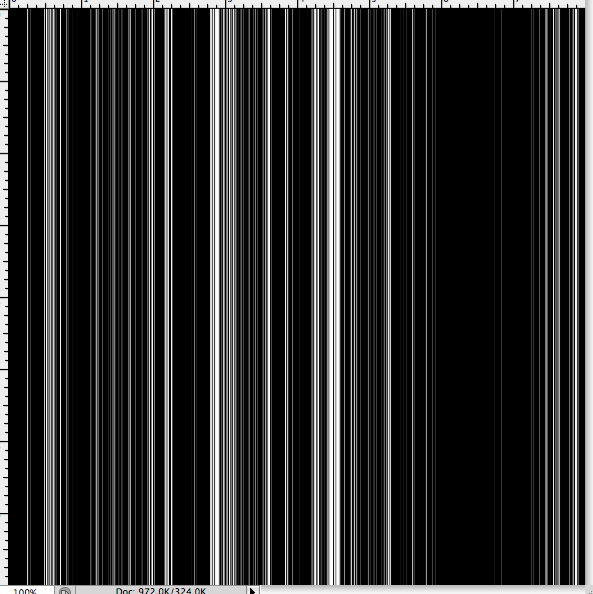
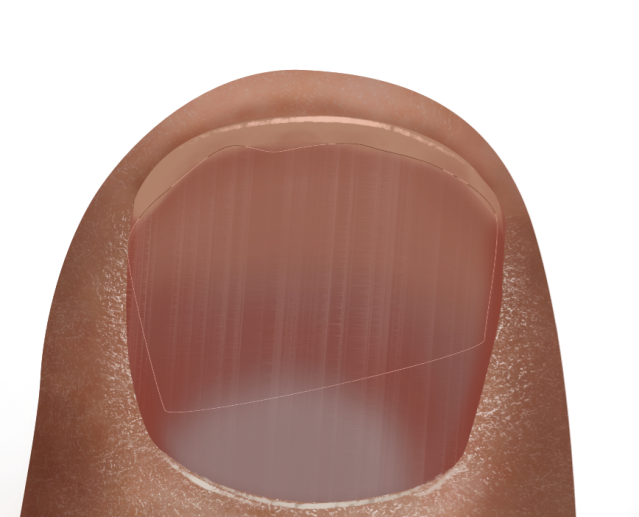
I created a noise gradient in another file.
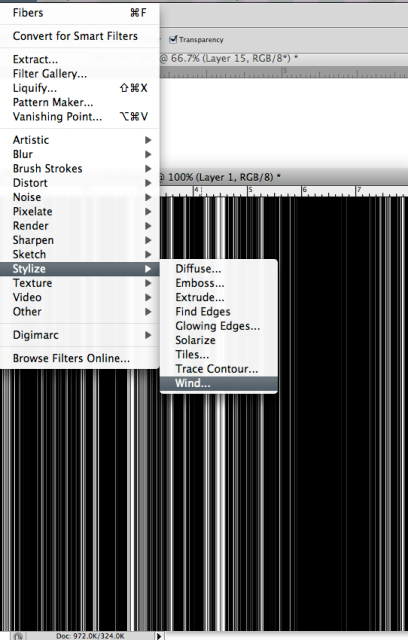
I applied wind
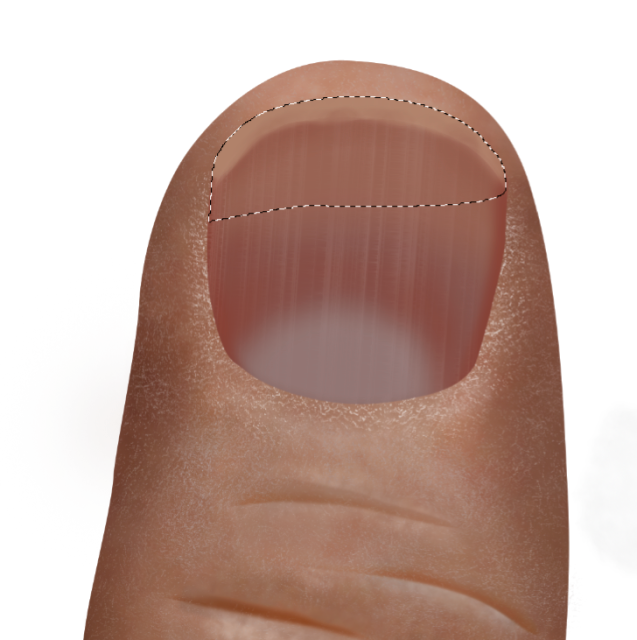
I applied it over the fingernail set to screen.
I dropped the opacity and erased areas with a soft eraser.
I created a highlight on the nail edge
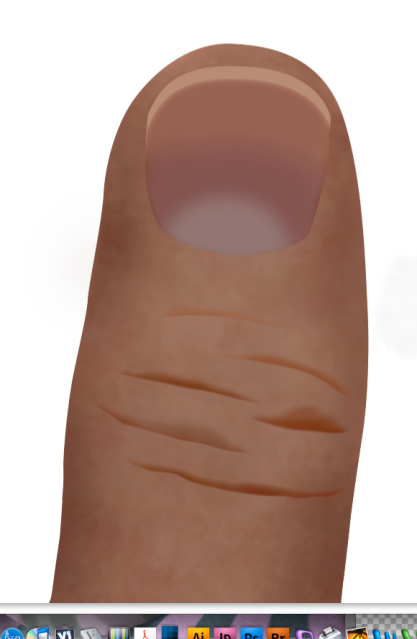
Now with the dodge and burn tools I created brushes that looked like this.
I started burning in smaller wrinkles. Dodging the hills and burning the valleys.
I did some more D and B around the nail edge and with some more playing around I came up with this.
Total time: 1 hour
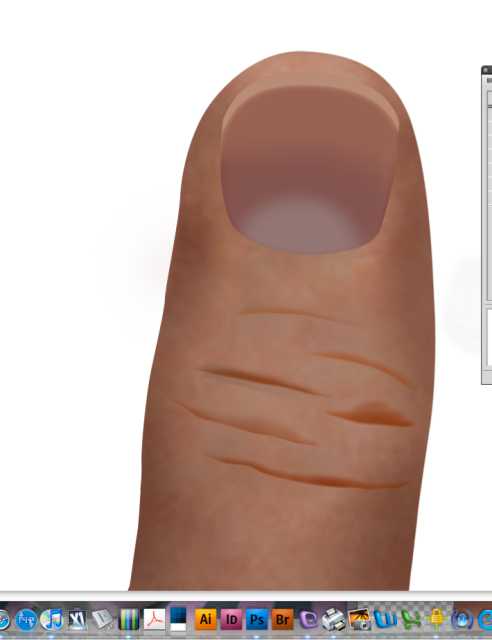
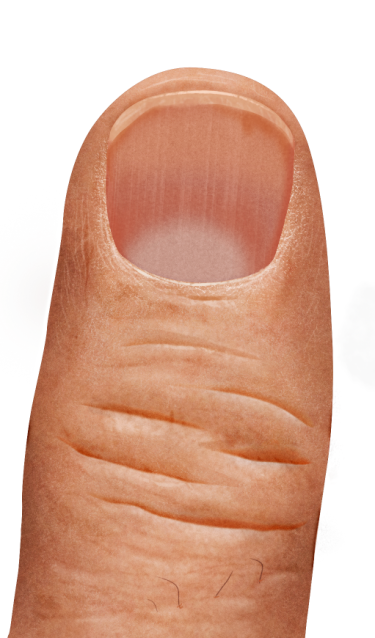
Notice the thin dodge lines around the edge to look like fingerprints coming around the edge of the finger. I also added a neutral noise layer set to soft light at a low opacity.
Add a few hairs.
There ya go

You can warm it up or adjust the colors if you are not happy
NEXT WEEK: THE LOTION BRUSH!! 
